Documentation Index
Fetch the complete documentation index at: https://docs.monk.com/llms.txt
Use this file to discover all available pages before exploring further.
Testing Your Integration
Before going live with billing, you need to verify that events are processed correctly, invoices calculate as expected, and payments flow through. This guide covers test mode, verification strategies, and common debugging techniques.Testing billing is critical—mistakes result in incorrect charges. Take time to
verify each step before enabling auto-pay or sending invoices to real
customers.
Test Mode vs Live Mode
Monk supports two API key modes:| Mode | API Key Prefix | Purpose | Stripe Environment |
|---|---|---|---|
| Test | mk_test_... | Development and testing | Stripe Test Mode |
| Live | mk_live_... | Production billing | Stripe Live Mode |
Using Test Mode
- Navigate to Settings → API Keys in your dashboard
- Create or copy your test API key (
mk_test_...) - Use this key for all development and testing
Switching Between Modes
Your dashboard shows which mode you’re viewing. Toggle between Test and Live mode to see the respective data:- Test mode: Orange indicator in dashboard
- Live mode: No indicator (production default)
Testing Checklist
Use this checklist to verify your integration end-to-end:Step 1: Set Up Test Resources
Create a minimal billing setup for testing:1.1 Create a Test Customer
id—you’ll need it for sending events.
1.2 Create a Test Meter
In your dashboard (Test mode):- Navigate to Products → Meters
- Create a meter:
- Code:
TEST_API_CALLS - Display Name: “Test API Calls”
- Aggregation: Sum
- Code:
1.3 Create a Test Plan
- Navigate to Products → Plans
- Create a plan:
- Name: “Test Plan”
- Net Terms: Due on receipt (Net 0)
- Add a usage-based price linked to
TEST_API_CALLS- Price: $0.01 per unit
1.4 Create a Test Contract
Step 2: Send Test Events
Send usage events and verify they’re accepted.Single Event
Expected Response
Batch Events
Step 3: Verify Event Processing
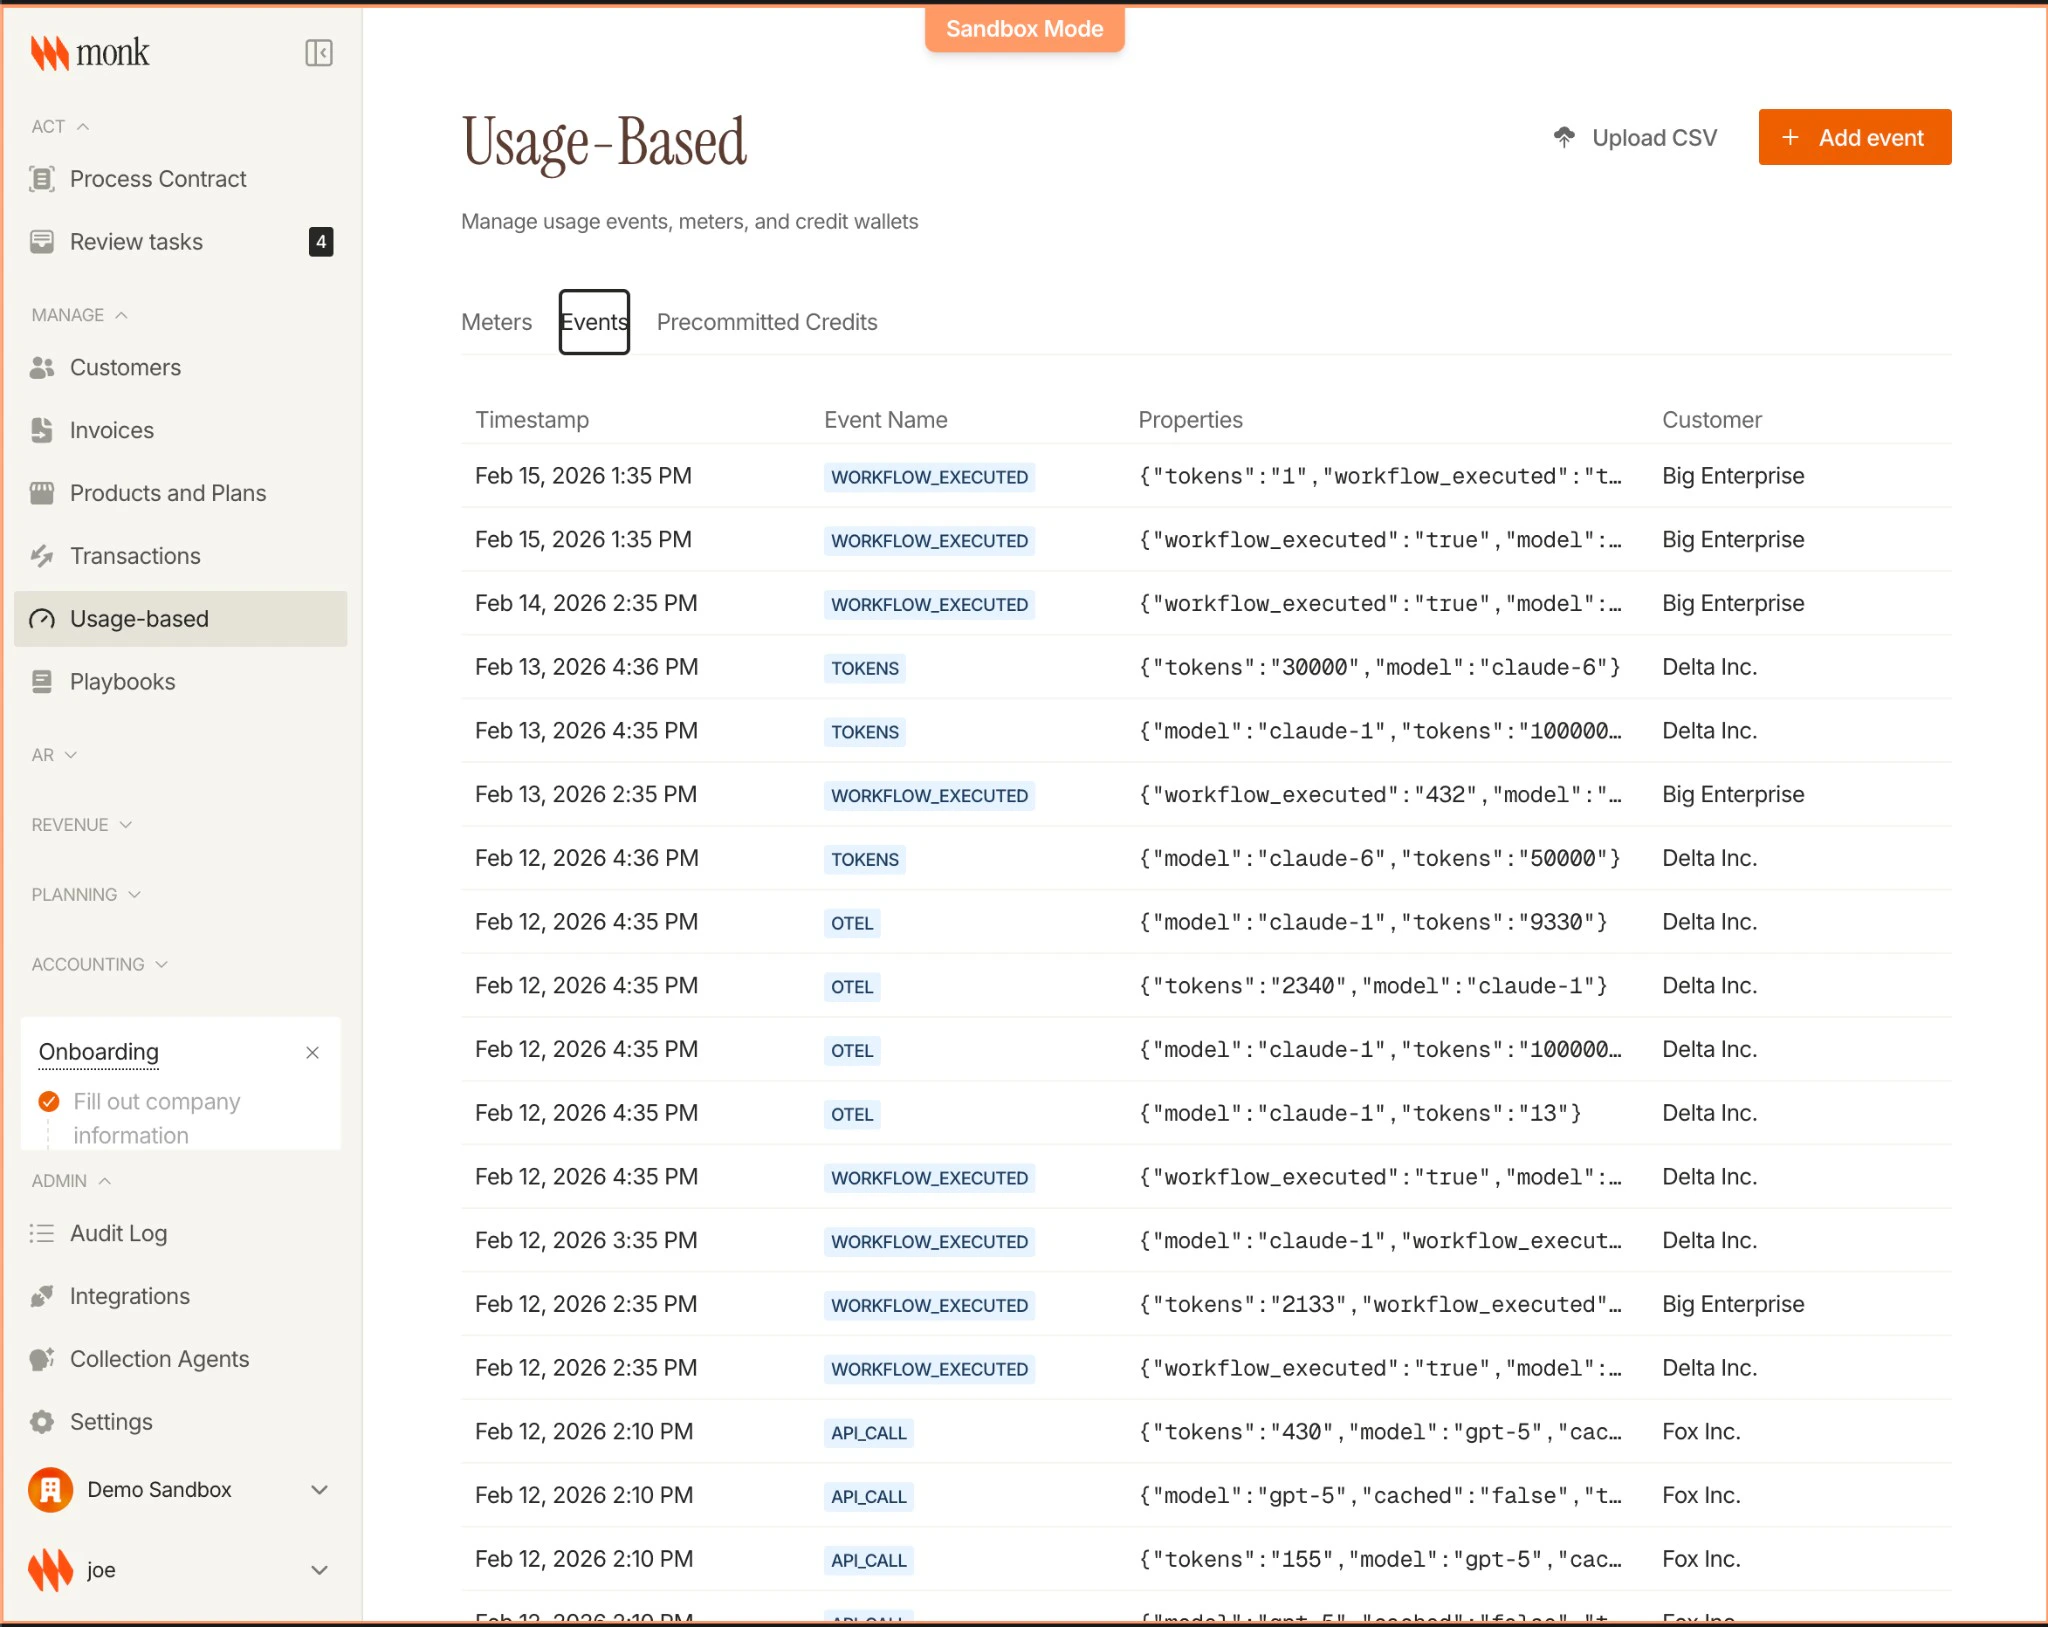
After sending events, verify they were processed correctly.Check the Events List
- Navigate to Usage-based → Events in your dashboard
- Find your test events in the list
- Verify:
- Event name matches your meter
- Customer is correctly attributed
- Timestamp is correct
Common Event Issues
| Symptom | Likely Cause | Solution |
|---|---|---|
| Event not in list | Wrong API key mode | Verify using mk_test_... key |
| Customer shows as “Unknown” | Invalid customer_id | Check customer exists in test mode |
| Event name doesn’t match | Meter code mismatch | Ensure event_name matches meter code exactly |
| Duplicate rejected (409) | Same idempotency_key sent twice | Expected behavior—original event was processed |
Step 4: Verify Invoice Calculations
Check that events update the correct invoice.View the Invoice
- Navigate to Customers → Select your test customer
- Find the active contract
- Click on the current period’s invoice
- Verify:
- Usage quantity matches events sent
- Line item total is calculated correctly
- Invoice total is accurate
Expected Calculation
For our test setup (3 events × $0.01/unit):| Line Item | Quantity | Unit Price | Total |
|---|---|---|---|
| Test API Calls | 3 | $0.01 | $0.03 |
| Total | $0.03 |
Invoice Not Updating?
If your invoice doesn’t reflect the events:- Wait a few seconds — event processing is asynchronous
- Refresh the page — invoice totals are cached briefly
- Check contract status — must be “Active” (not Scheduled or Cancelled)
- Verify billing period — event timestamp must fall within the invoice’s service period
- Check meter → plan linkage — the meter must be linked to a pricing item in the plan
Step 5: Test the Full Billing Cycle
For a complete end-to-end test, simulate a full billing cycle.Test Scenario
- Day 1: Create contract starting today
- Day 1-30: Send usage events throughout the period
- Day 30: Invoice finalizes with all usage
- Day 30+: (If auto-pay) Payment is collected
Using Stripe Test Cards
If testing auto-pay, use Stripe’s test cards:| Card Number | Scenario |
|---|---|
4242424242424242 | Successful payment |
4000000000000002 | Card declined |
4000000000009995 | Insufficient funds |
4000000000000341 | Attaches but fails |
Debugging Event Processing
When events don’t appear on invoices as expected, follow this debugging flow.1. Verify the Event Was Received
Check the Events list in your dashboard. If the event isn’t there:- Confirm you received a
202 Acceptedresponse - Check you’re viewing the correct mode (Test vs Live)
- Verify the API key matches the mode
2. Check Customer Attribution
If the event shows “Unknown Customer”:- Verify
customer_idorexternal_customer_idis correct - Confirm the customer exists in the same mode (Test/Live)
- Check for typos in the customer ID
3. Verify Contract Exists
The customer must have an active contract:- Navigate to the customer’s page
- Check for an active contract covering the event’s timestamp
- Verify the contract’s plan includes pricing for the meter
4. Check Meter → Plan Linkage
The event’sevent_name must match a meter that’s linked to the plan:
5. Verify Timestamp Is in Billing Period
Events are matched to invoices based on timestamp:- Invoice covers March 1–31
- Event timestamp: March 15 → ✅ Matches
- Event timestamp: February 28 → ❌ No match (wrong period)
- Event timestamp: April 1 → ❌ No match (wrong period)
Testing Idempotency
Verify that duplicate events are handled correctly.Send the Same Event Twice
What This Means
- Both requests return
202 Accepted— retries are always safe - Monk uses the latest version of an event with the same idempotency key for billing
- Your invoice won’t be double-charged; duplicate keys are deduplicated automatically
Testing Error Scenarios
Intentionally trigger errors to verify your error handling.Invalid Customer
Missing Required Fields
Verify Your Code Handles These
Your integration should:- Log errors for investigation
- Queue for retry on 5xx errors (server issues)
- Alert on 4xx errors (client issues that need fixing)
- Never lose events due to transient failures
Pre-Launch Checklist
Before switching to live mode:API Integration
API Integration
- Events are sent in real-time (or batched appropriately)
- Idempotency keys are unique and deterministic
- Error handling queues failed events for retry
- Logging captures event send/receive for debugging
Billing Configuration
Billing Configuration
- Meters are created with correct aggregation - [ ] Plans have correct pricing items linked to meters - [ ] Net terms match your billing requirements
- Auto-pay is configured correctly (if applicable)
Customer Setup
Customer Setup
- Customers are linked to Stripe (for auto-pay) - [ ] External customer IDs match your system - [ ] Payment methods are saved for auto-pay customers
End-to-End Testing
End-to-End Testing
- Events appear in the dashboard
- Invoices calculate correctly
- Payment flow works (test cards)
- Webhooks are received (if configured)
Going Live
When you’re ready for production:- Create live resources: Recreate your meters, plans in live mode (or verify they exist)
- Switch API keys: Replace
mk_test_...withmk_live_...in your production environment - Verify first events: Send a few live events and verify they appear
- Monitor closely: Watch for errors in the first few days
Next Steps
Send your first Event
Detailed guide on event integration
Set up Webhooks
Receive real-time billing notifications
API Reference
Full API specification
Billing for SaaS
Complete end-to-end setup guide